Odoo 18's Website Module is a powerful tool that simplifies website creation and management, making it accessible to users without advanced technical skills. With its user-friendly interface, you can design, publish, and maintain web pages effortlessly. The module offers a variety of customisable layouts, multimedia integration, and seamless connectivity with other Odoo applications, enhancing your website's functionality. This guide will show you how to create and publish a blog on an Odoo 18 website.
Step 1: Install and Access the Odoo 18 Website Module
Before you can start blogging, ensure that the Odoo 18 Website Module is installed. Once installed, open the application from the Odoo dashboard.
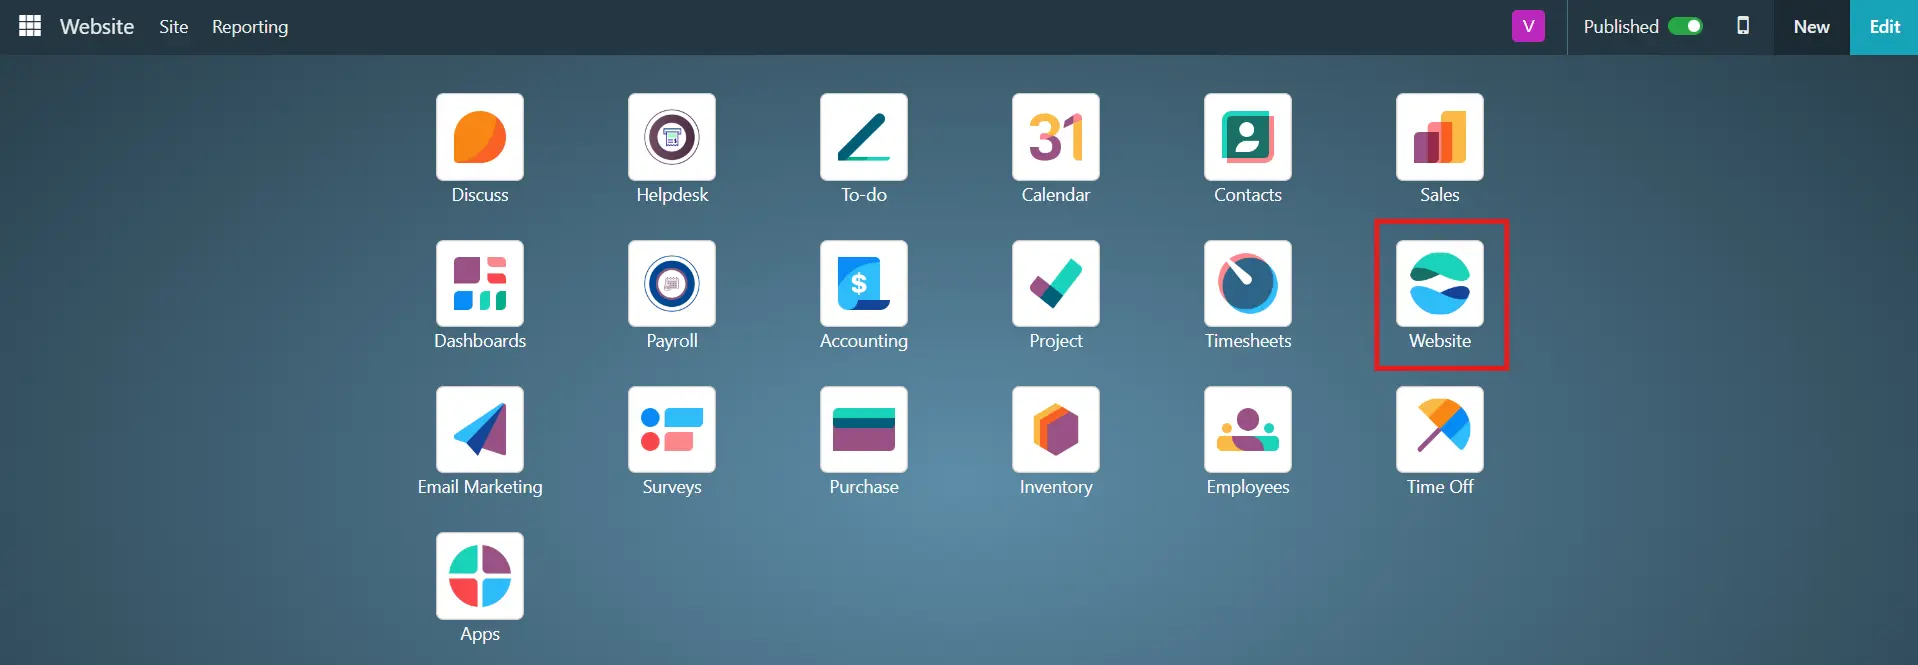
Step 2: Create a New Blog Post
There are two primary ways to create a new blog in Odoo 18:
1. Using the “+New” Button
- Navigate to your website module and click the “+New” button at the top right corner.
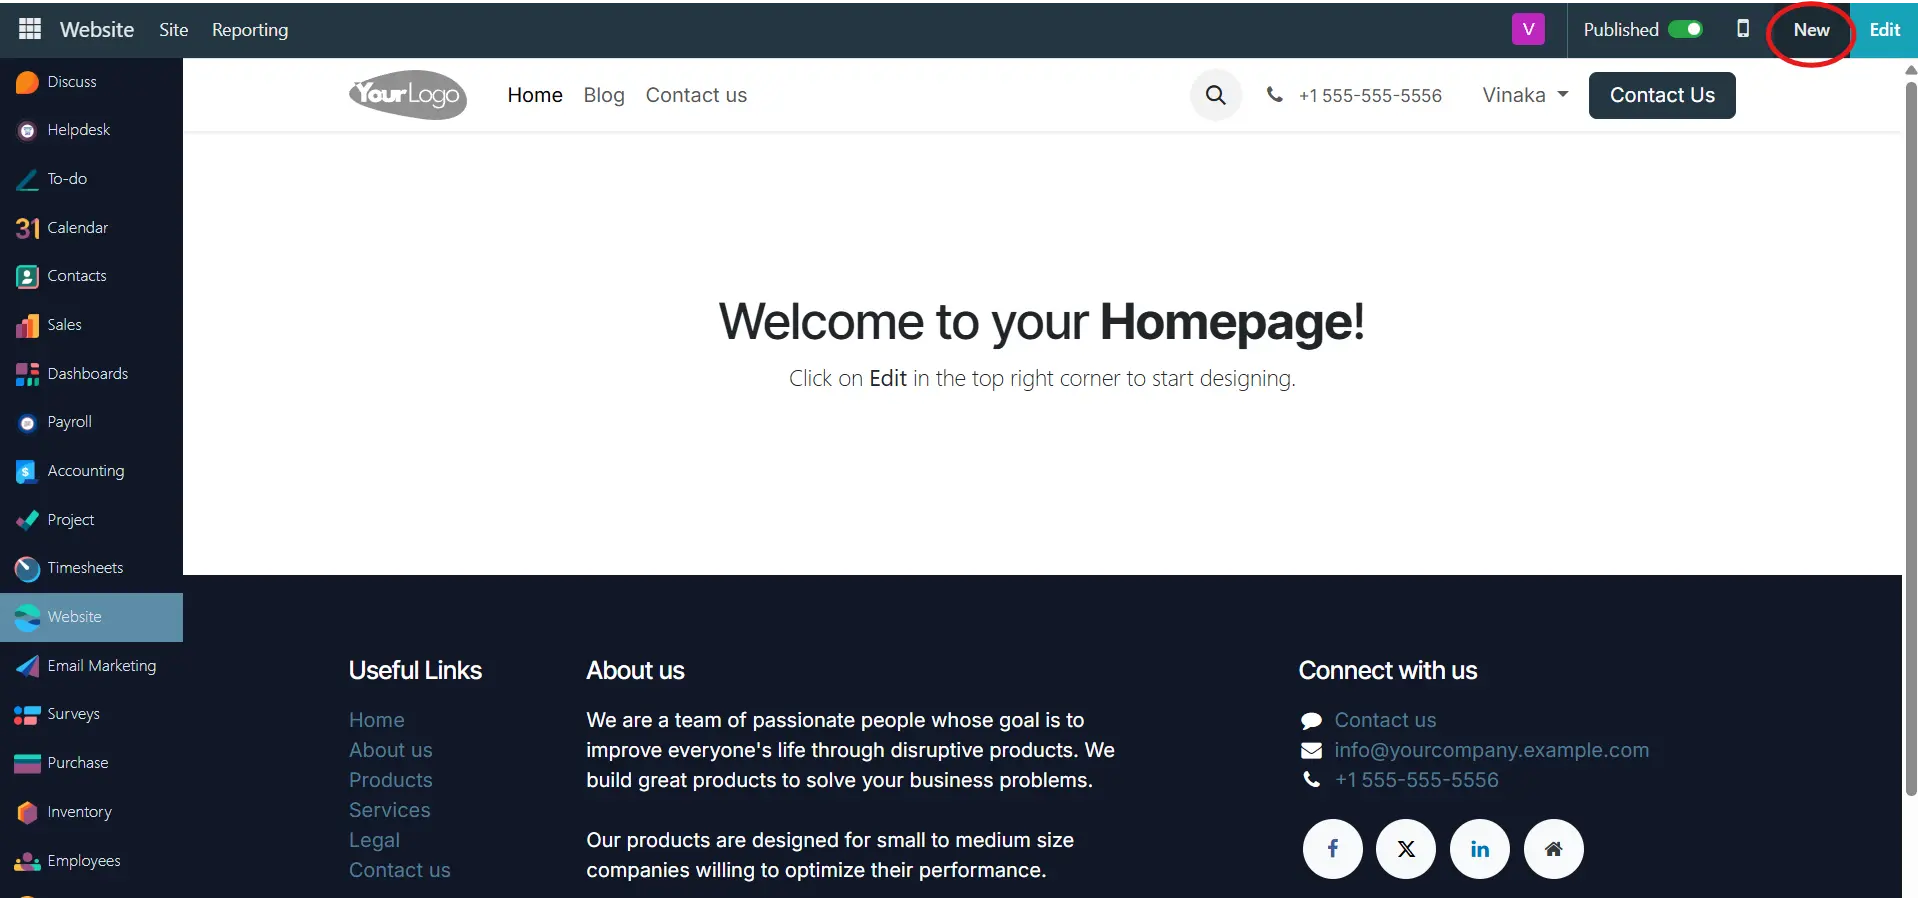
- A new page will open, where you can select various editing options, including Blog Posts, Pages, and more. In that, choose Blog Post.
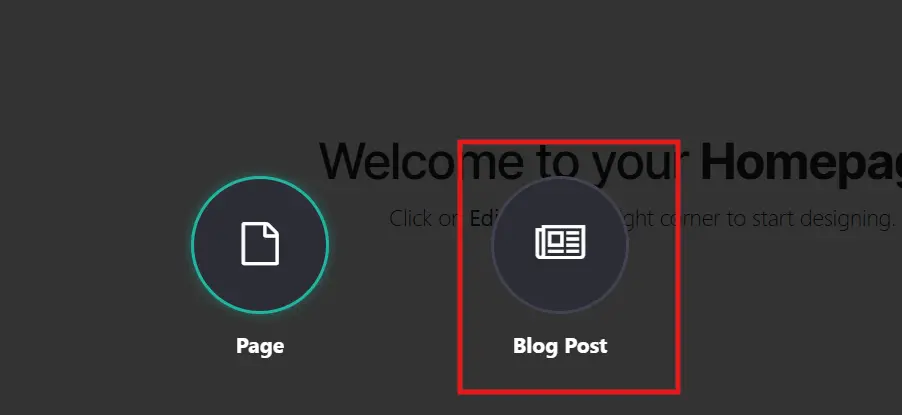
- A small popup window will appear where you can select or create the Blog Type and enter the blog Title.

2. Using the “Blog Posts” Option from the “Site” Menu
- Open the “Site” menu and select “Blog Posts”.

- You will see a list of all existing blog posts with columns such as Title, Website URL, Author, Published Status, and SEO Optimization.
- Click the “New” button near the Blog Post Pages to start a new blog post.

- A small popup window will appear where you can select the Blog Type and enter the blog Title.

- After entering the details, click Save to proceed.
Step 3: Editing Your Blog Post
Once the blog post page opens, you can design your content using Odoo’s extensive editing tools.
- Click the "Edit" button at the top right corner to start editing.
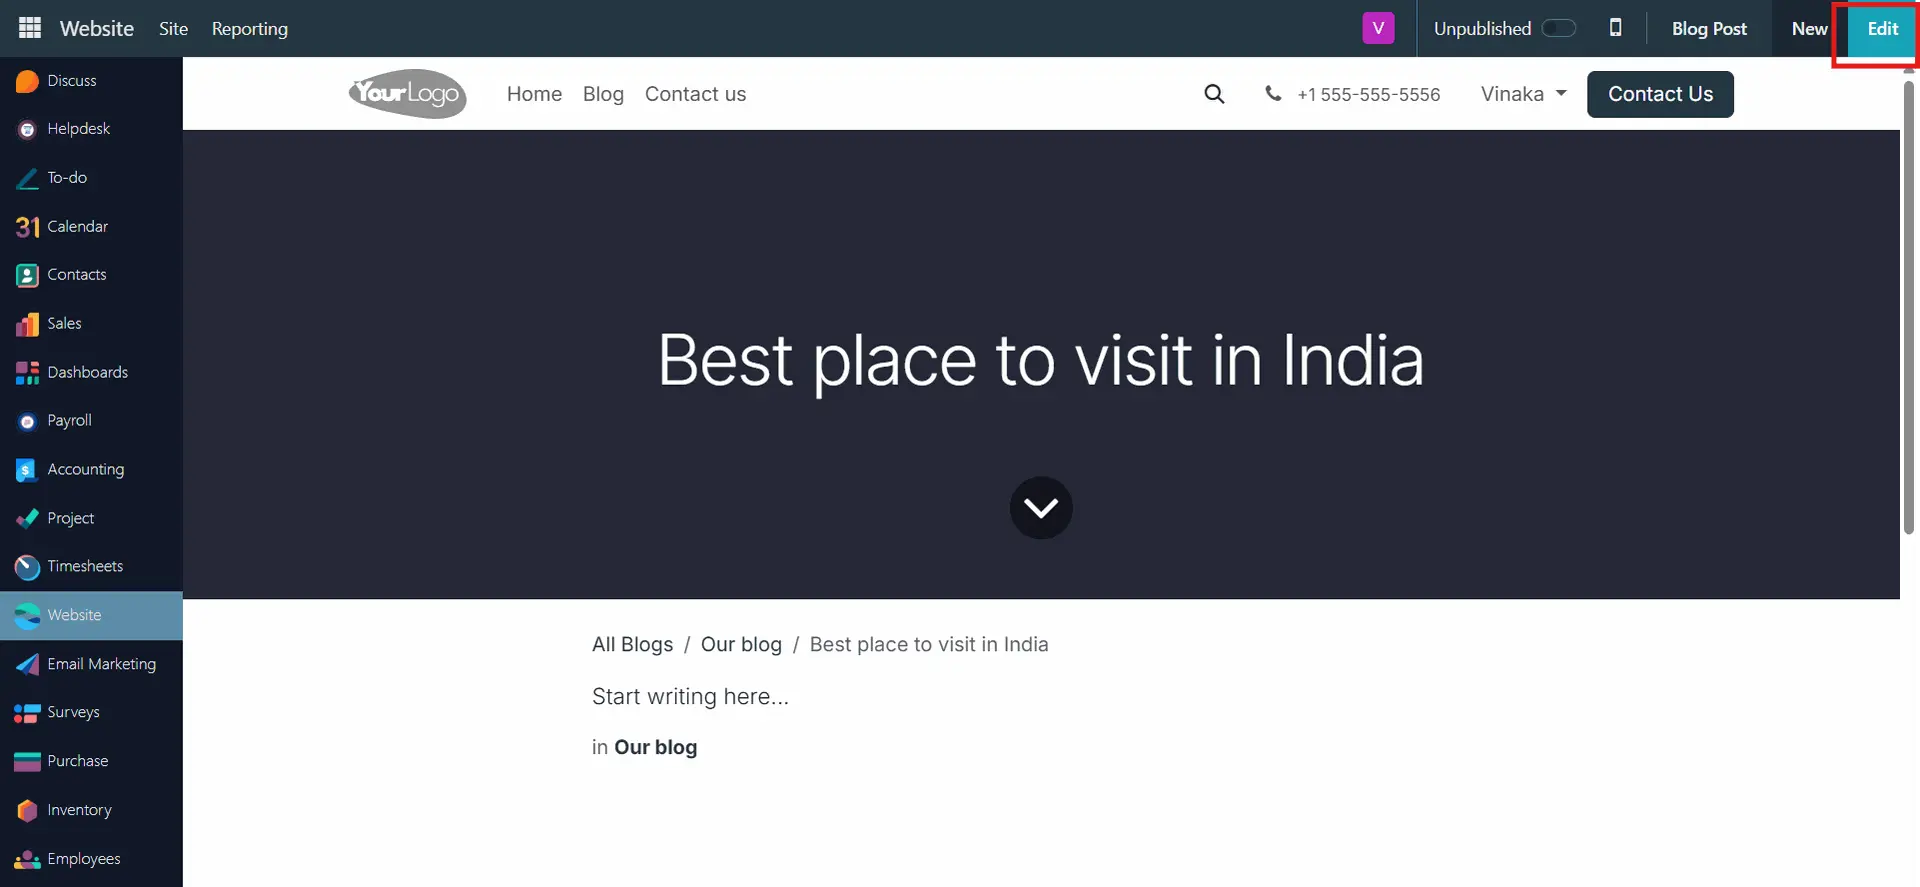
1. Selecting Building Blocks
Odoo provides a variety of Building Blocks to help design your blog. These can be found in the BLOCK section of the toolbox and include:
- Intro, Columns, Content, Images, People, Text, Contact & Forms, Socials, Blogs, and more.
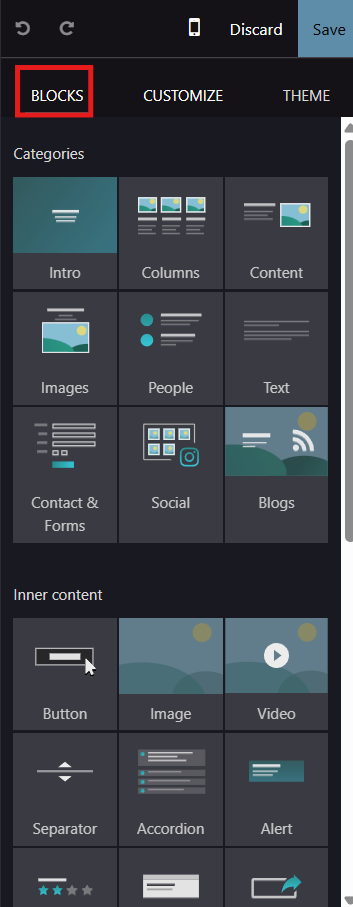
- Simply drag and drop the desired blocks into your blog layout.
- Customize the appearance using the CUSTOMIZE section.
2. Editing Texts
- Click on any text area to modify the content.
- Use the available text editing tools to change font style, size, bold, italics, and alignment.
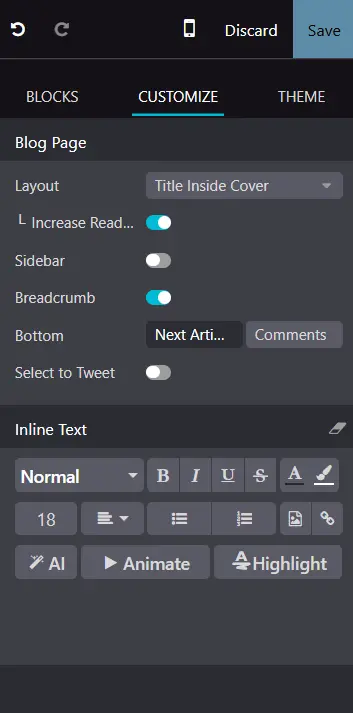
- Use the “CUSTOMIZE” button to adjust text layout, add sidebars, and enhance formatting.
3. Adding and Replacing Images
- Click on the “Replace” button in the editing toolbox to add images or videos.
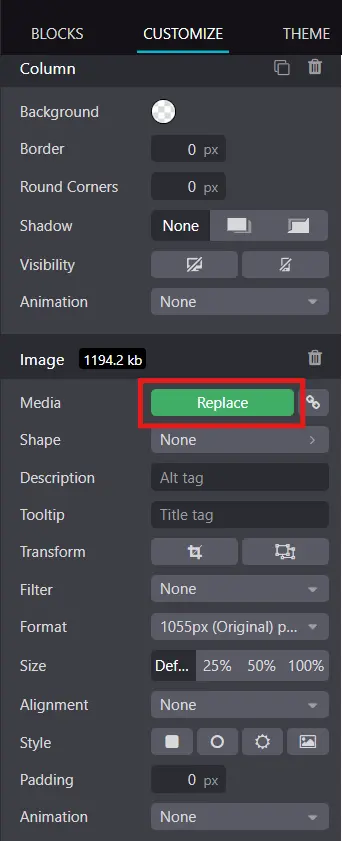
- You can upload media from your system or select from Odoo’s Unsplash integration, which provides royalty-free images.
Step 4: Preview and Publish Your Blog Post
Mobile Preview
- Before publishing, check how the blog appears on mobile devices by clicking the mobile icon in the main menu.

Managing Blog Posts
To manage blog posts:
- Click on the “Blog Post” menu in the Odoo dashboard.

- This will open a detailed form view containing Blog type, title, subtitle, Tags, Author details, Number of views, Publishing date, Last contributor, and last update date.
- Save any changes after updating the blog details.
Publishing and Unpublishing
- Once your blog is finalized, click the “Publish” button in the website module’s menu bar to make it live.

- If needed, you can Unpublish the blog by clicking the same button.

If you're working with Odoo 18 and looking to enhance your website’s functionality, streamline processes, or integrate new features, we’re here to help. Whether it’s Odoo ERP implementation, migration, integration, customization, or e-commerce solutions, our team has extensive experience delivering tailored Odoo solutions.
We’ve successfully worked with businesses across the USA, UK, Australia, Europe, New Zealand, the Middle East, and South Africa.
We offer a free consultation to discuss your project needs.