Want to get your Odoo 17 store ready for online payments? In this step-by-step guide, we’ll show you how to configure payment providers in Odoo 17, including popular gateways like PayPal, Stripe, and Razorpay. Follow these instructions to make your online transactions smooth, fast, and hassle-free for your customers.
Step 1: Managing Payment Providers in Odoo
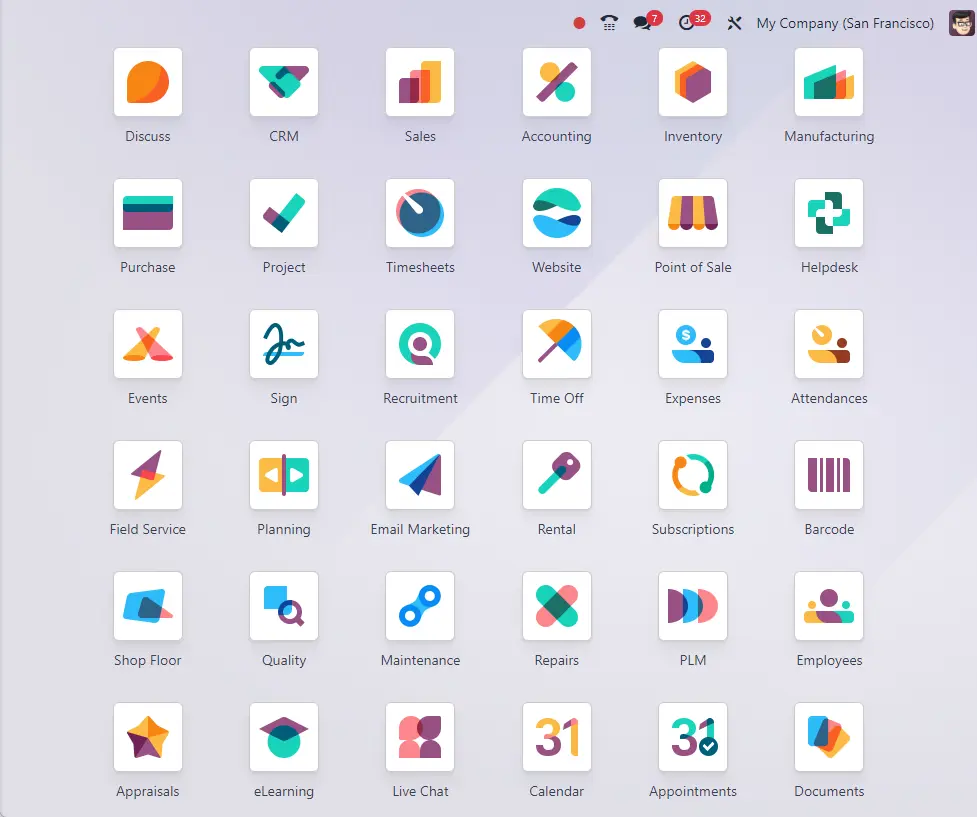
1. To get started, Go to Accounting
2. Navigate to the Configuration menu
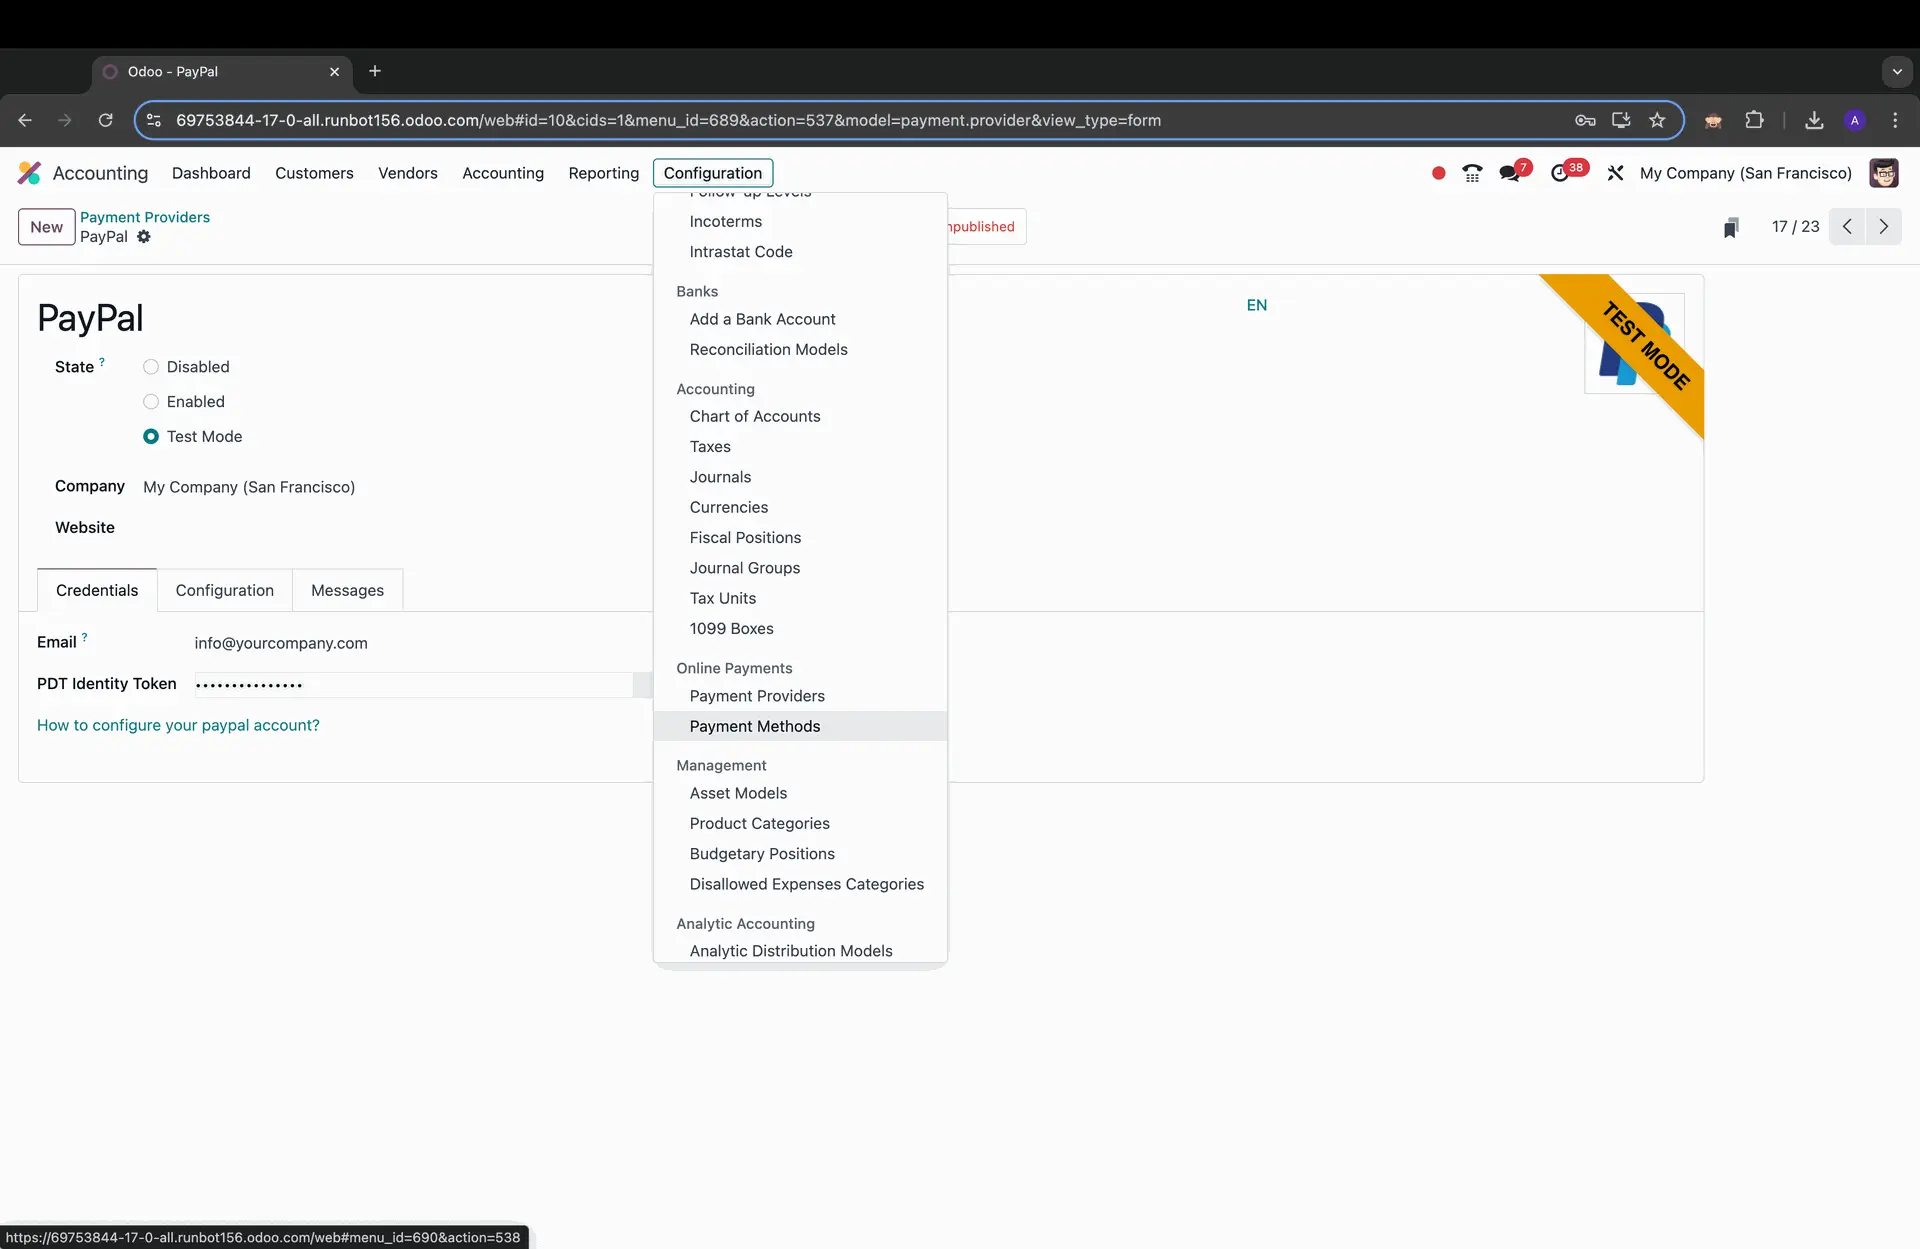
3. Select Payment Providers from the dropdown menu.
Step 2: Installing Payment Acquirer Modules
You will see a variety of payment providers available. Each provider has its specific configuration flow depending on what features are available.
1. Install the relevant payment acquirer module for your desired gateway (e.g., PayPal, Stripe, Razorpay etc)
2. Search for your preferred payment provider and click Install.
Step 3: Activating a Payment Provider in Odoo
1. Once your necessary modules are installed, click on the Activate button next to the payment provider you want to configure.
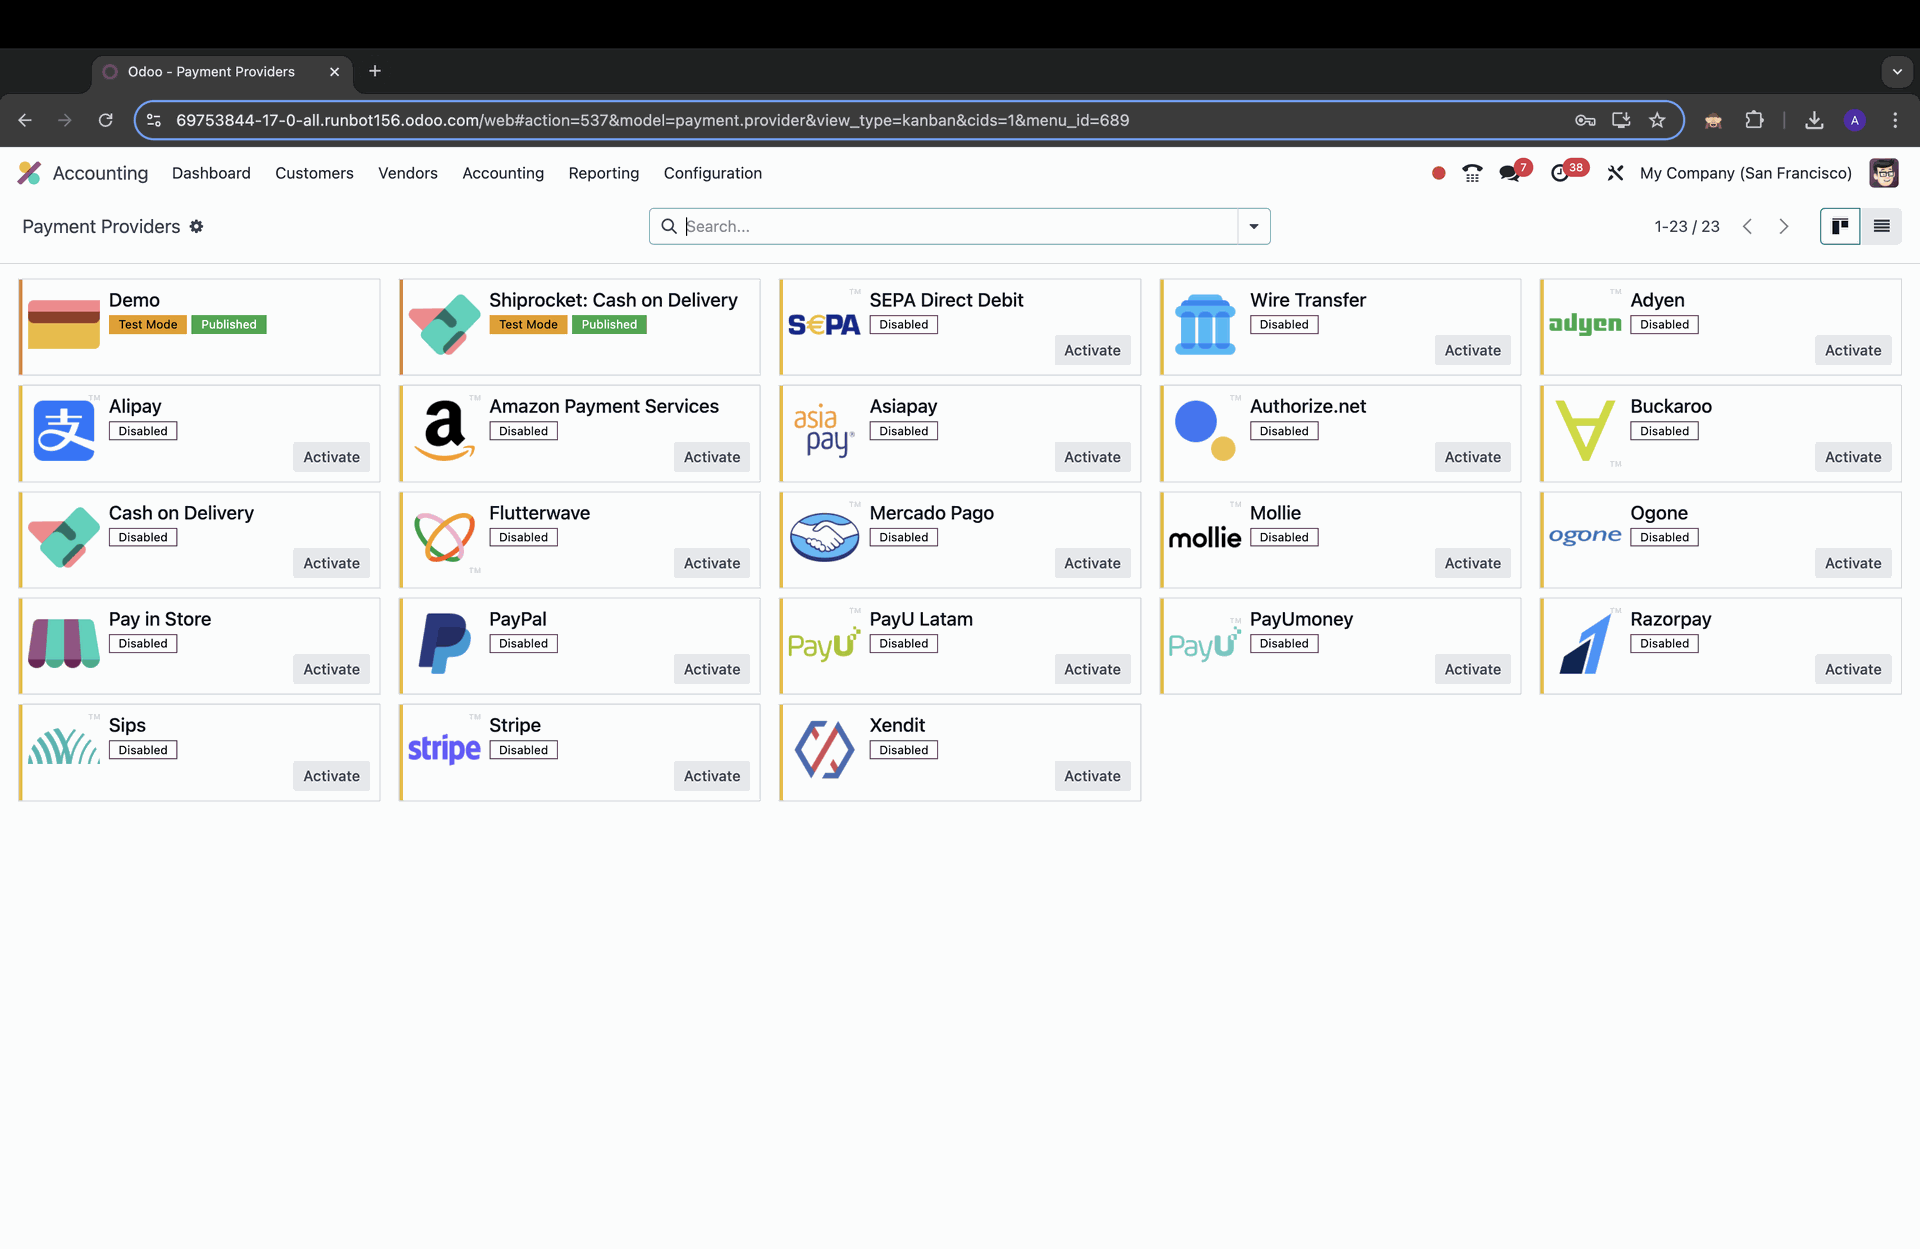
2. This opens the configuration form for that provider.
Step 4: Configuring Payment Provider Settings
Set the state of the payment provider to Enabled or Test Mode based on your needs.
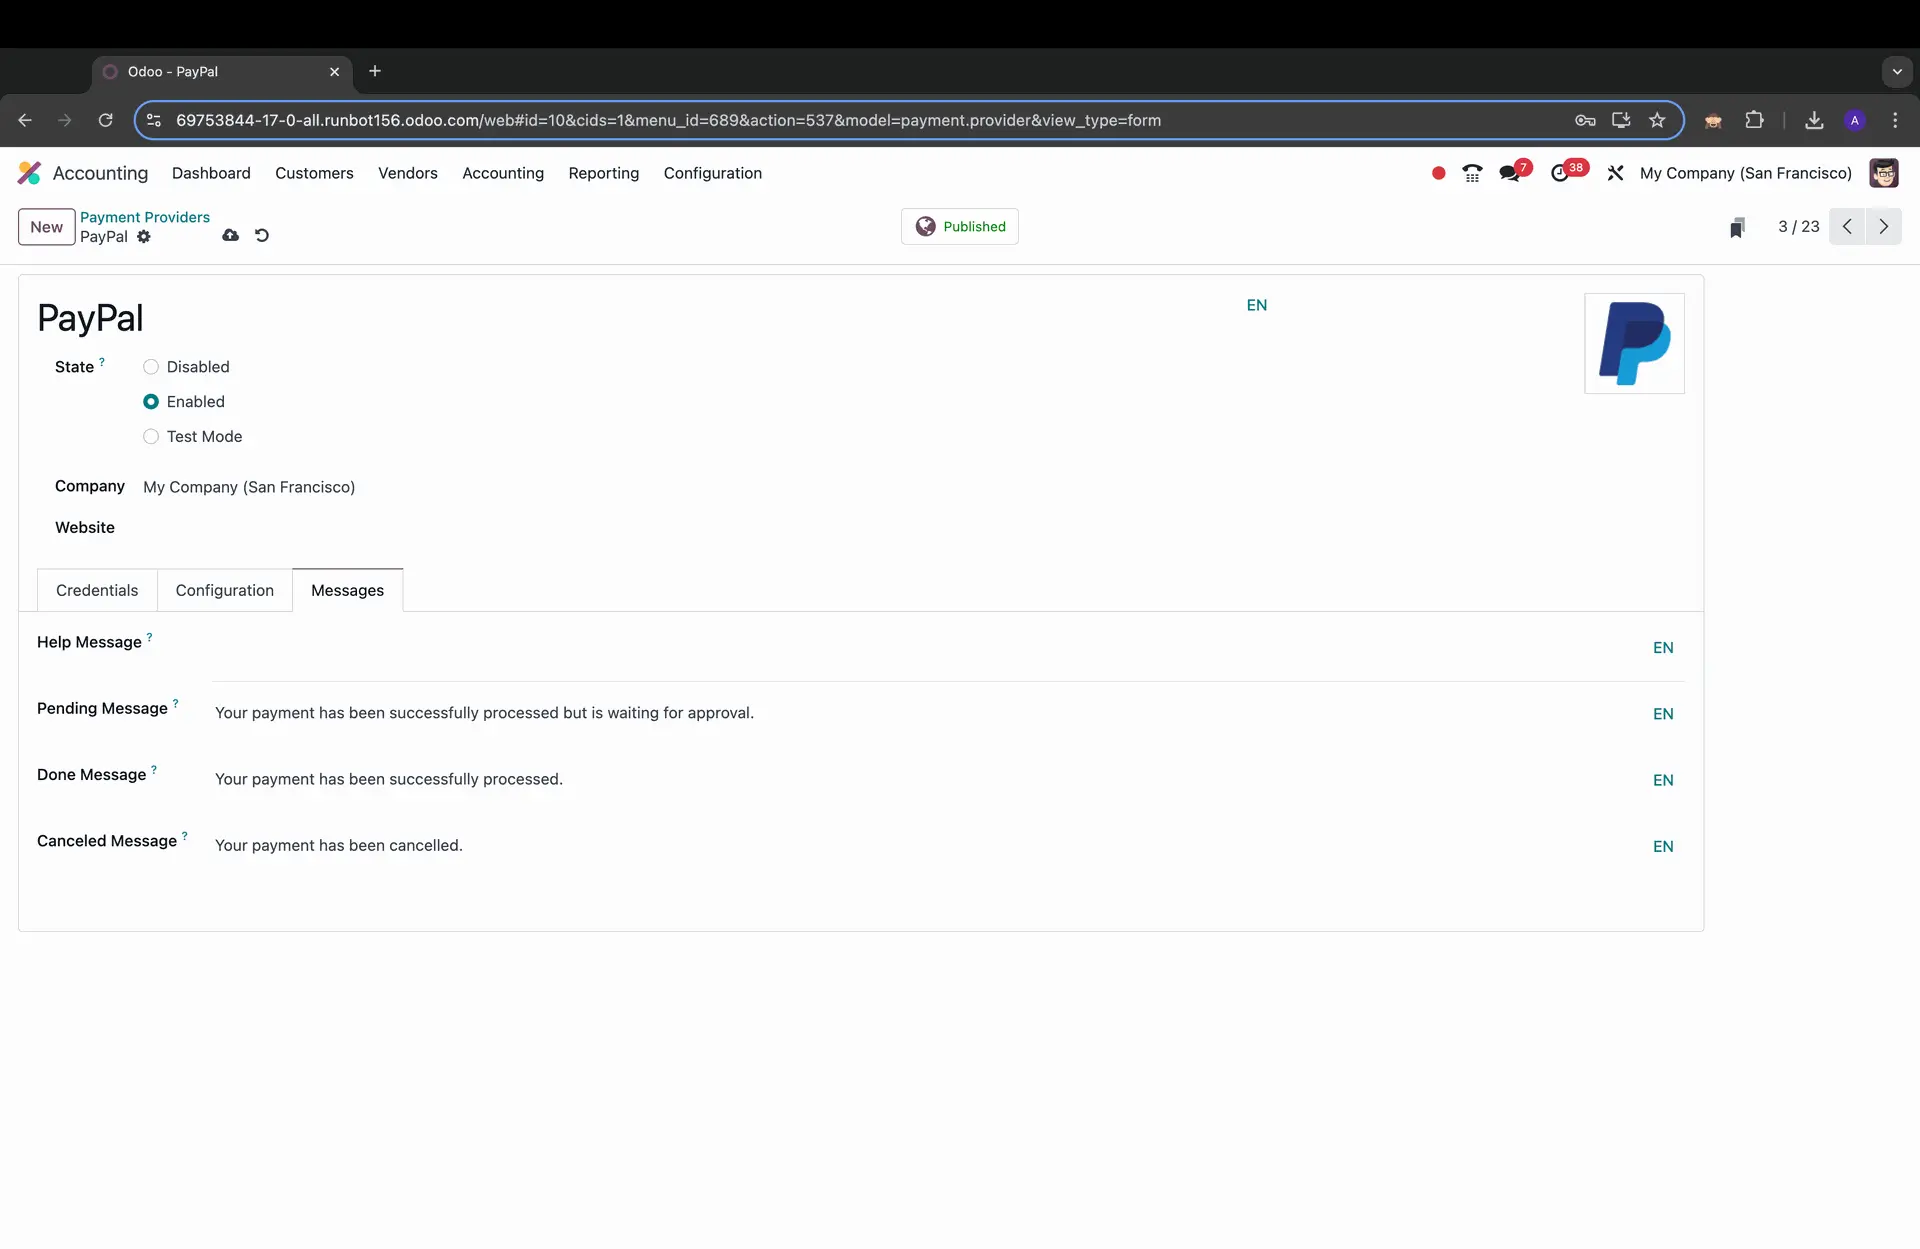
In the configuration form, you will find several tabs:
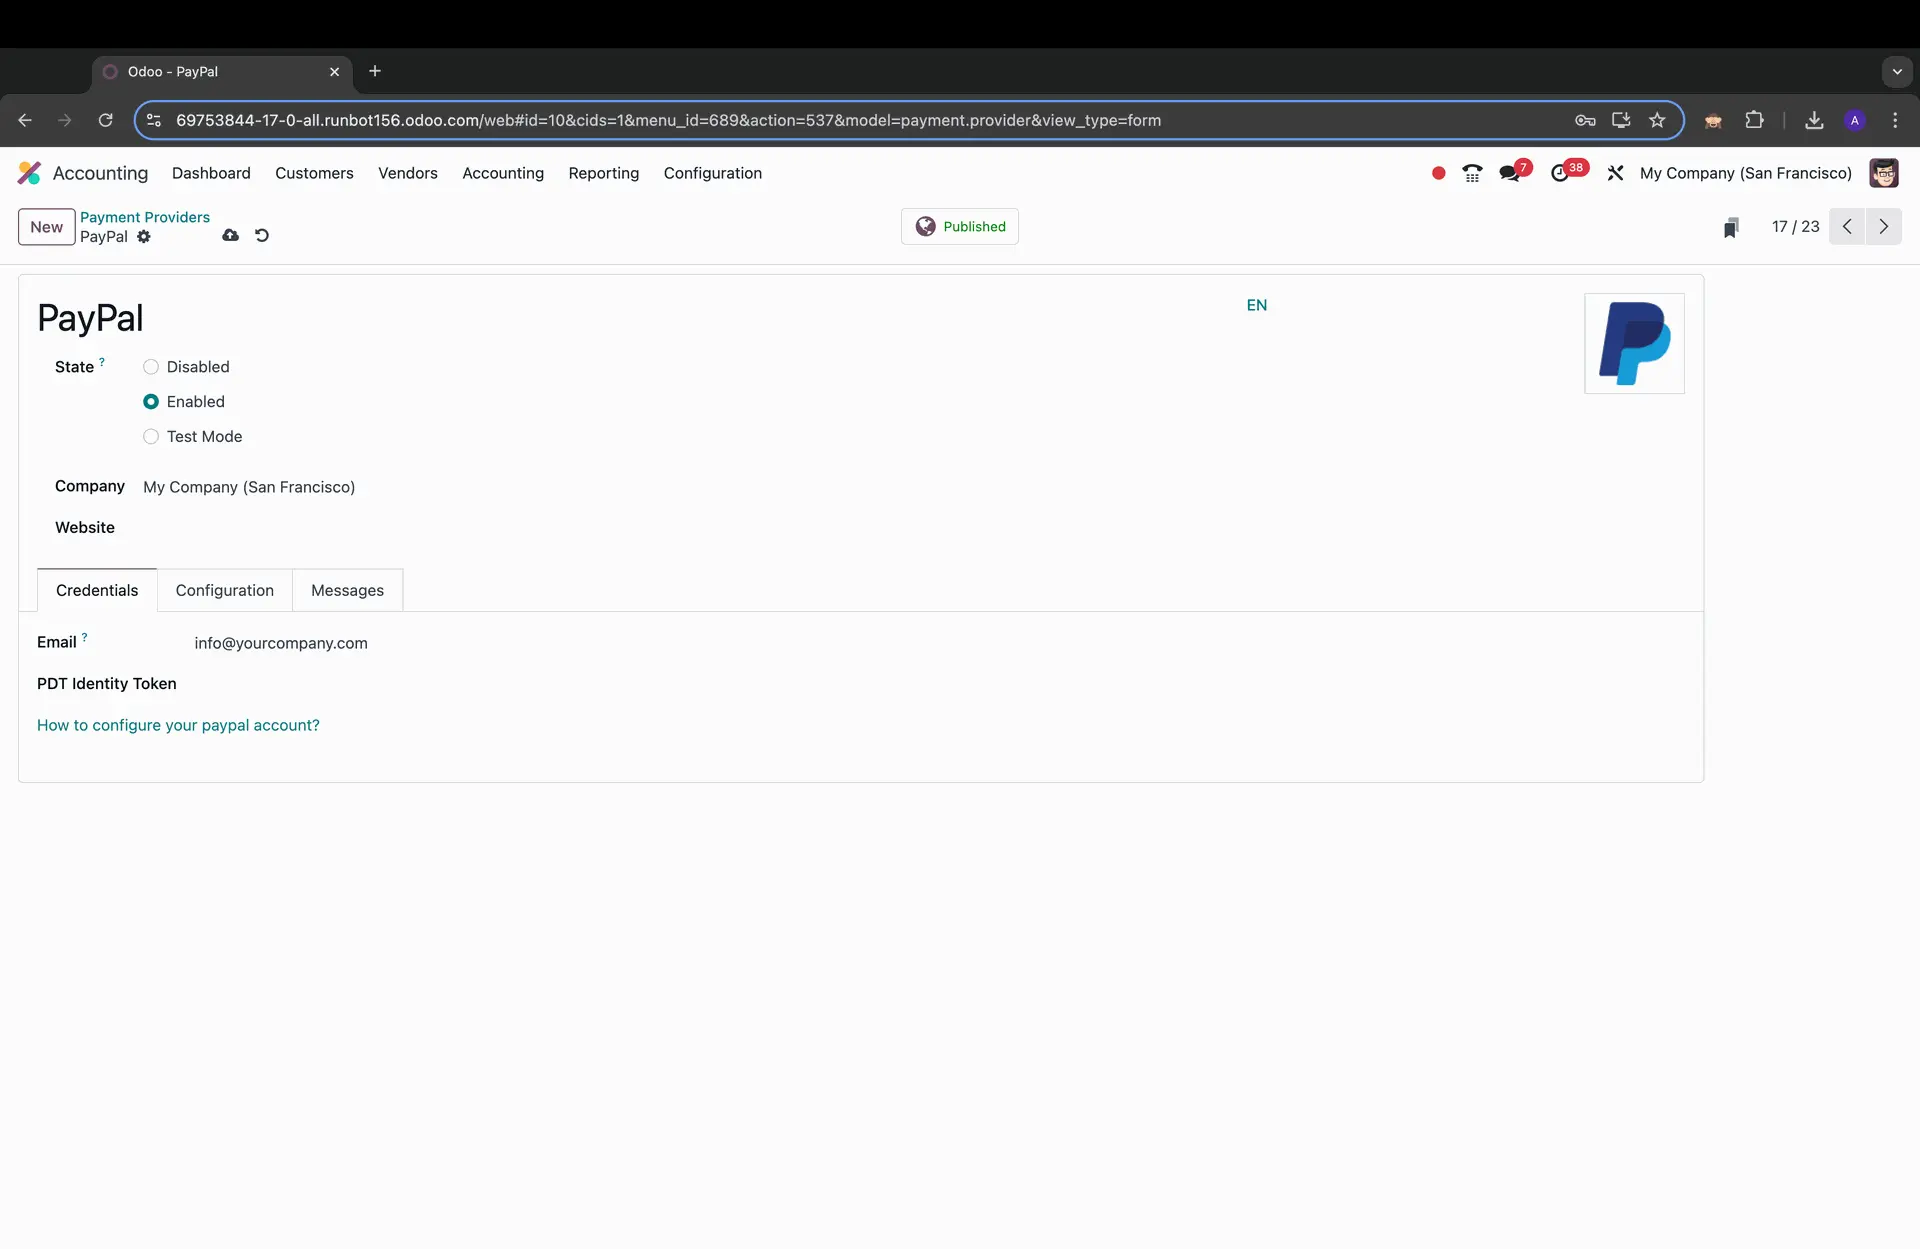
1. Credentials Tab
Enter your API credentials (e.g., API keys, merchant ID).
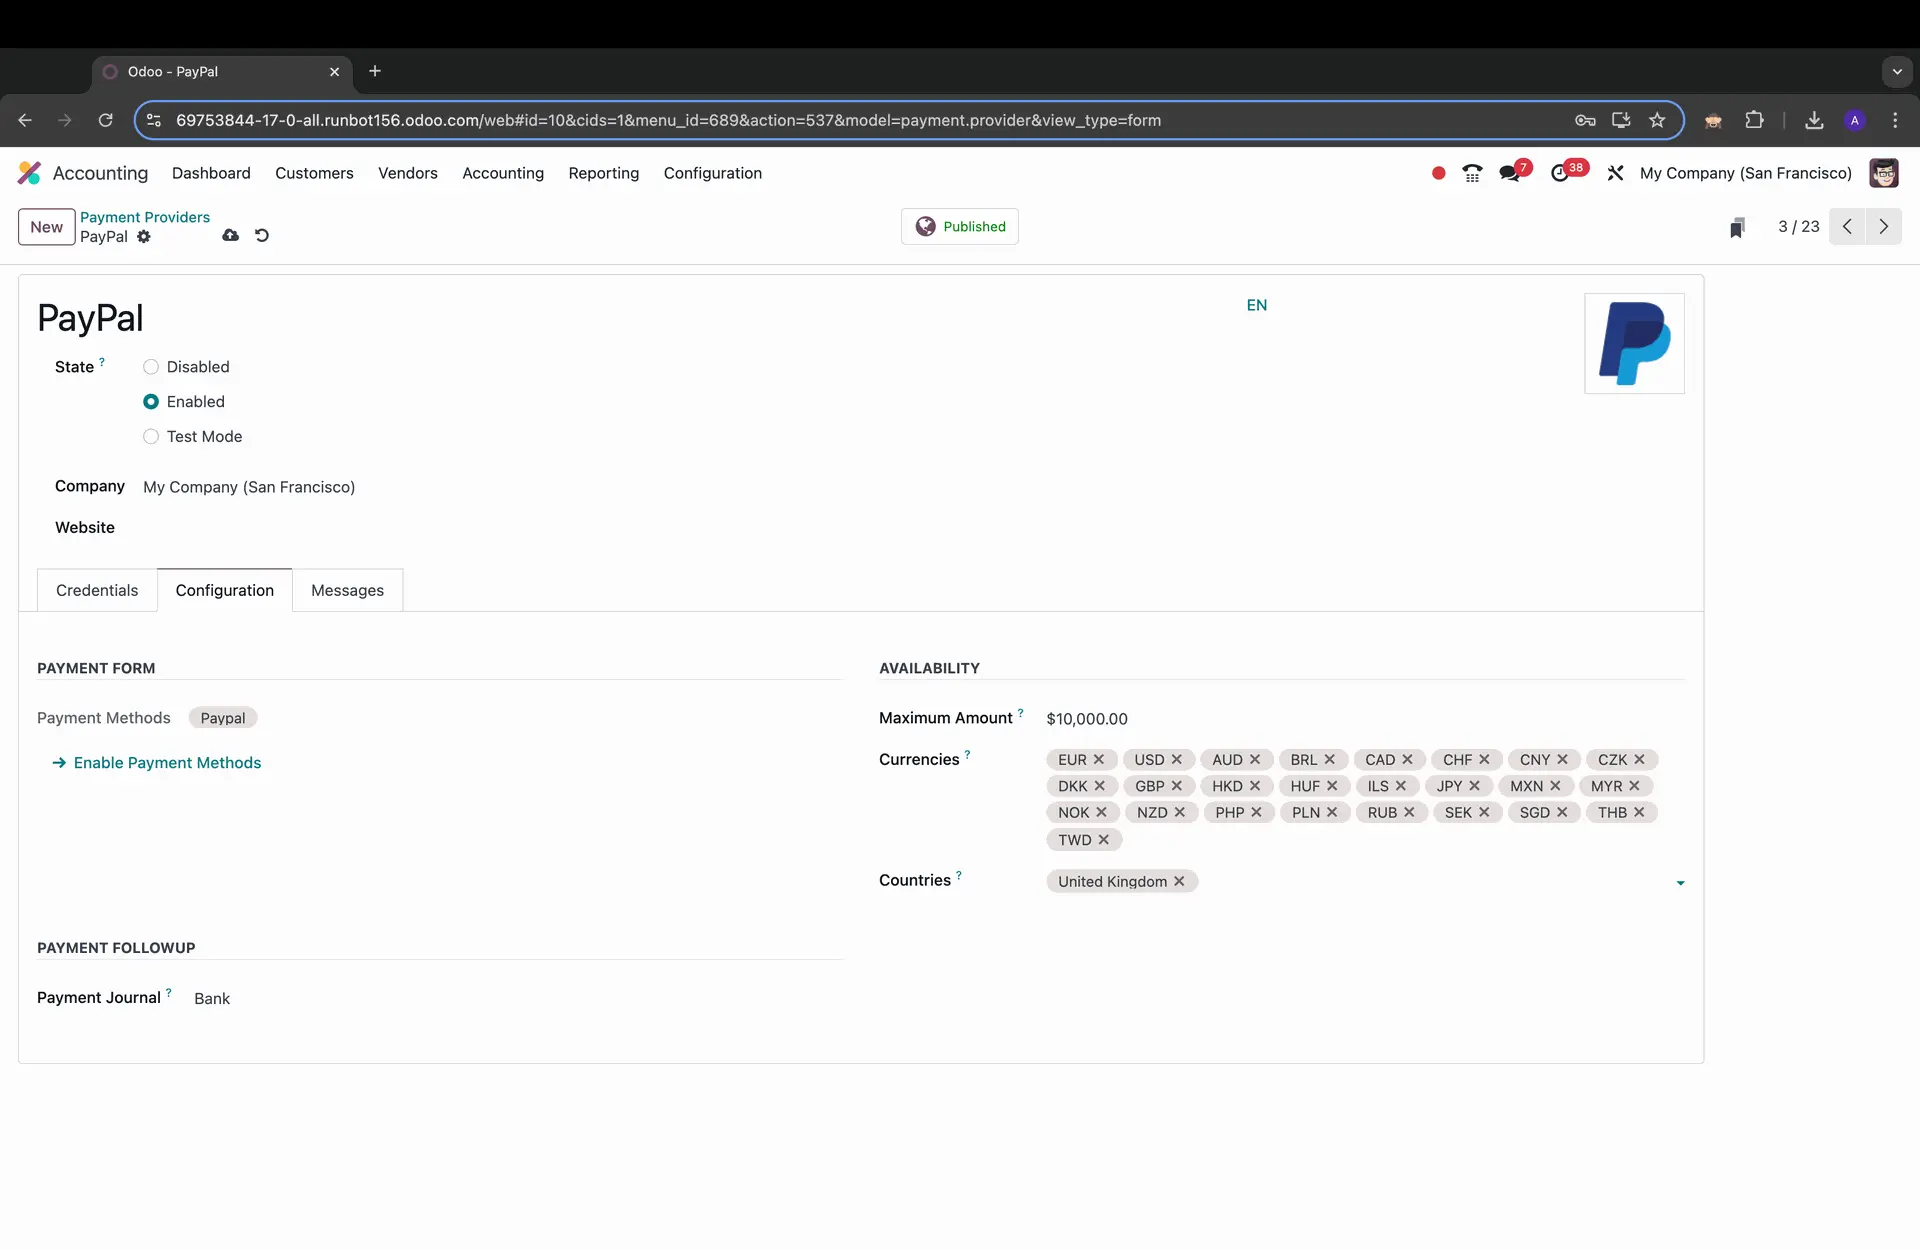
2. Configuration Tab
Here, you can customize various settings:
- Payment Methods: Choose which methods are supported (e.g., credit cards, PayPal).
- Maximum amount: You can limit the maximum amount.
- Supported Currencies: Specify which currencies can be processed.
- Supported Countries: Define geographical restrictions for payment processing.
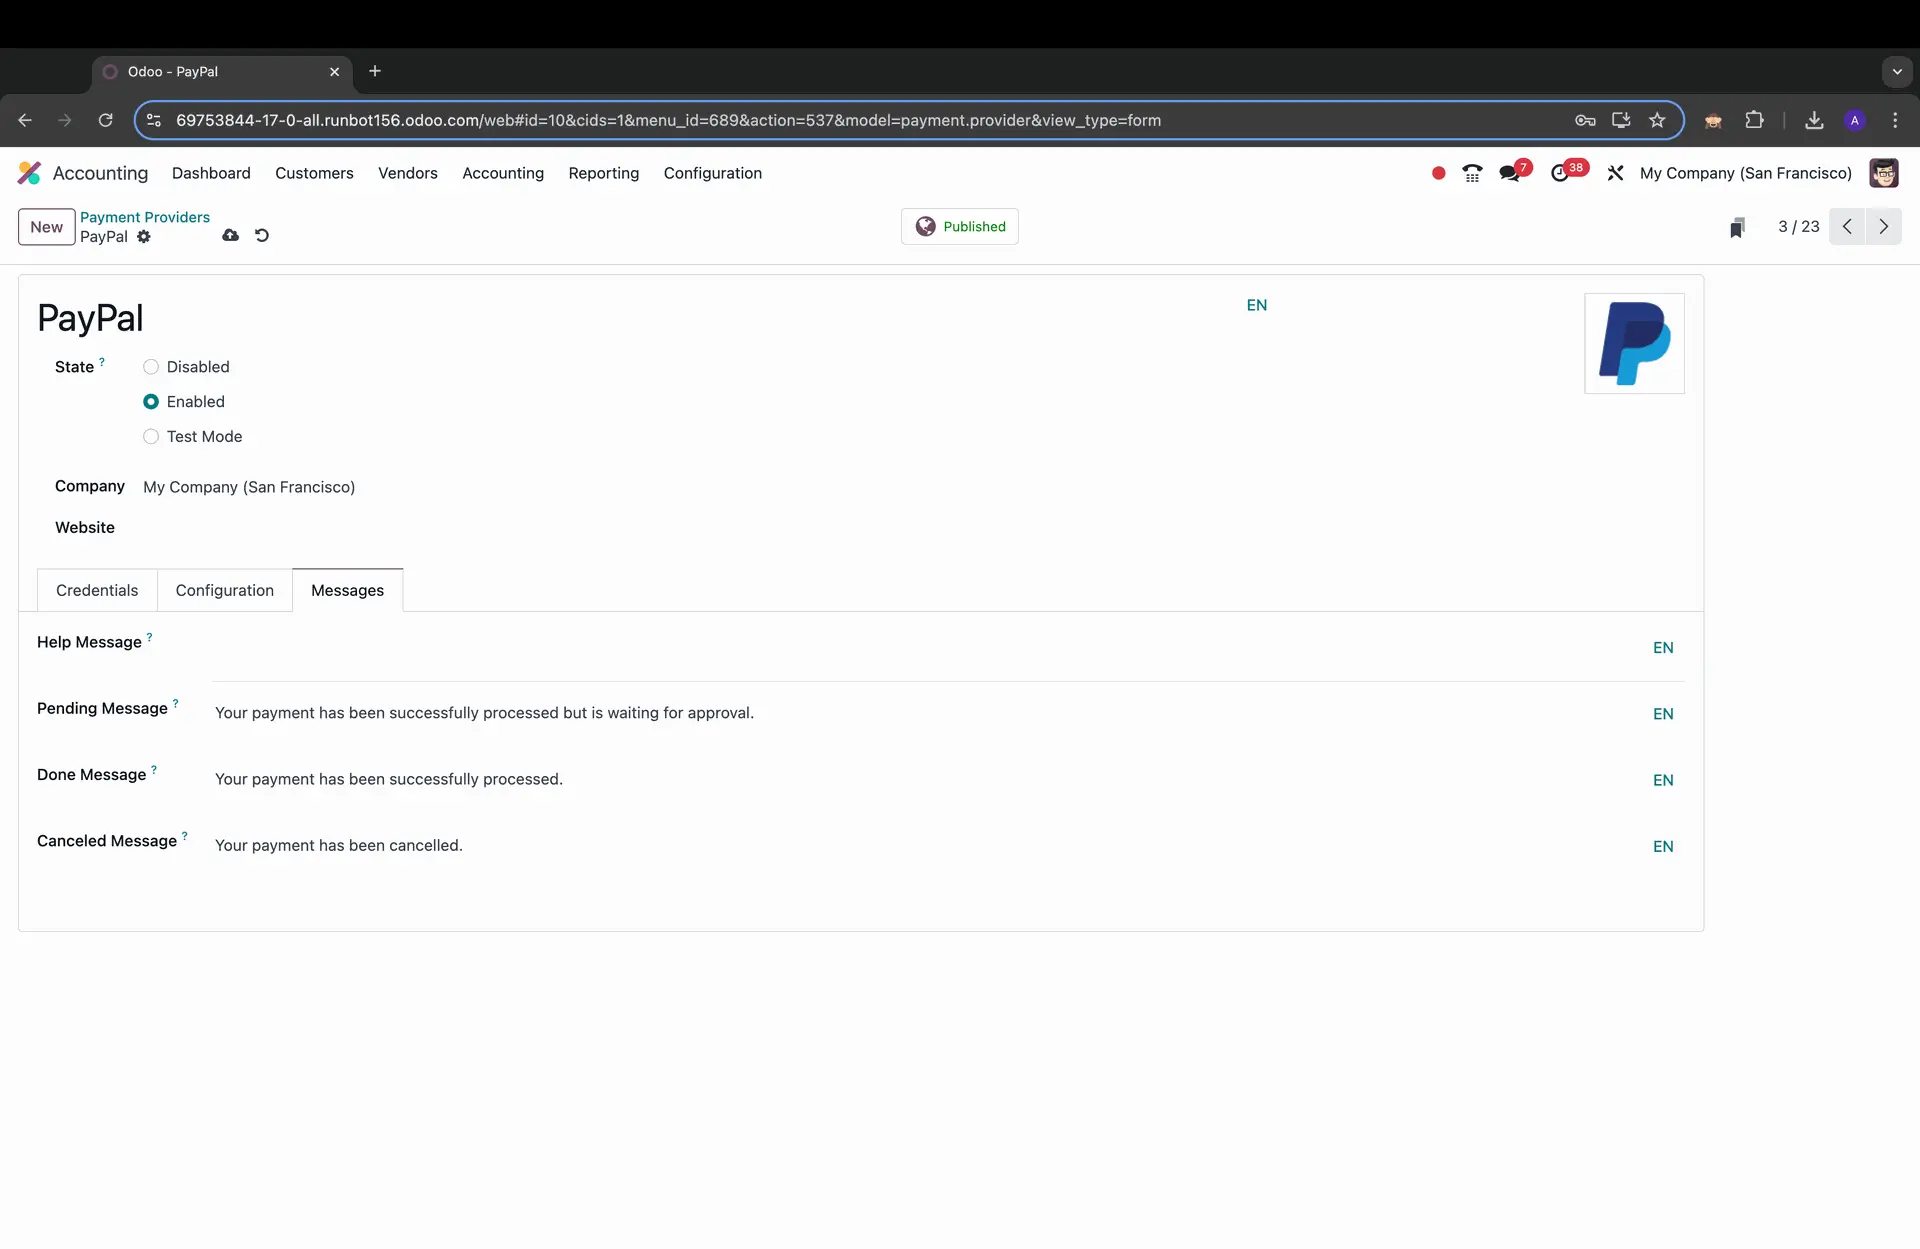
3. Messages Tab
· Customize messages that will be displayed during different transaction states.
For
1. Pending Message: Your payment has been successfully processed but is waiting for approval.
2. Done Message: Your payment has been successfully processed.
3. Cancelled Message: Your Payment has been cancelled
Step 5: Setting Up Payment Methods in Odoo
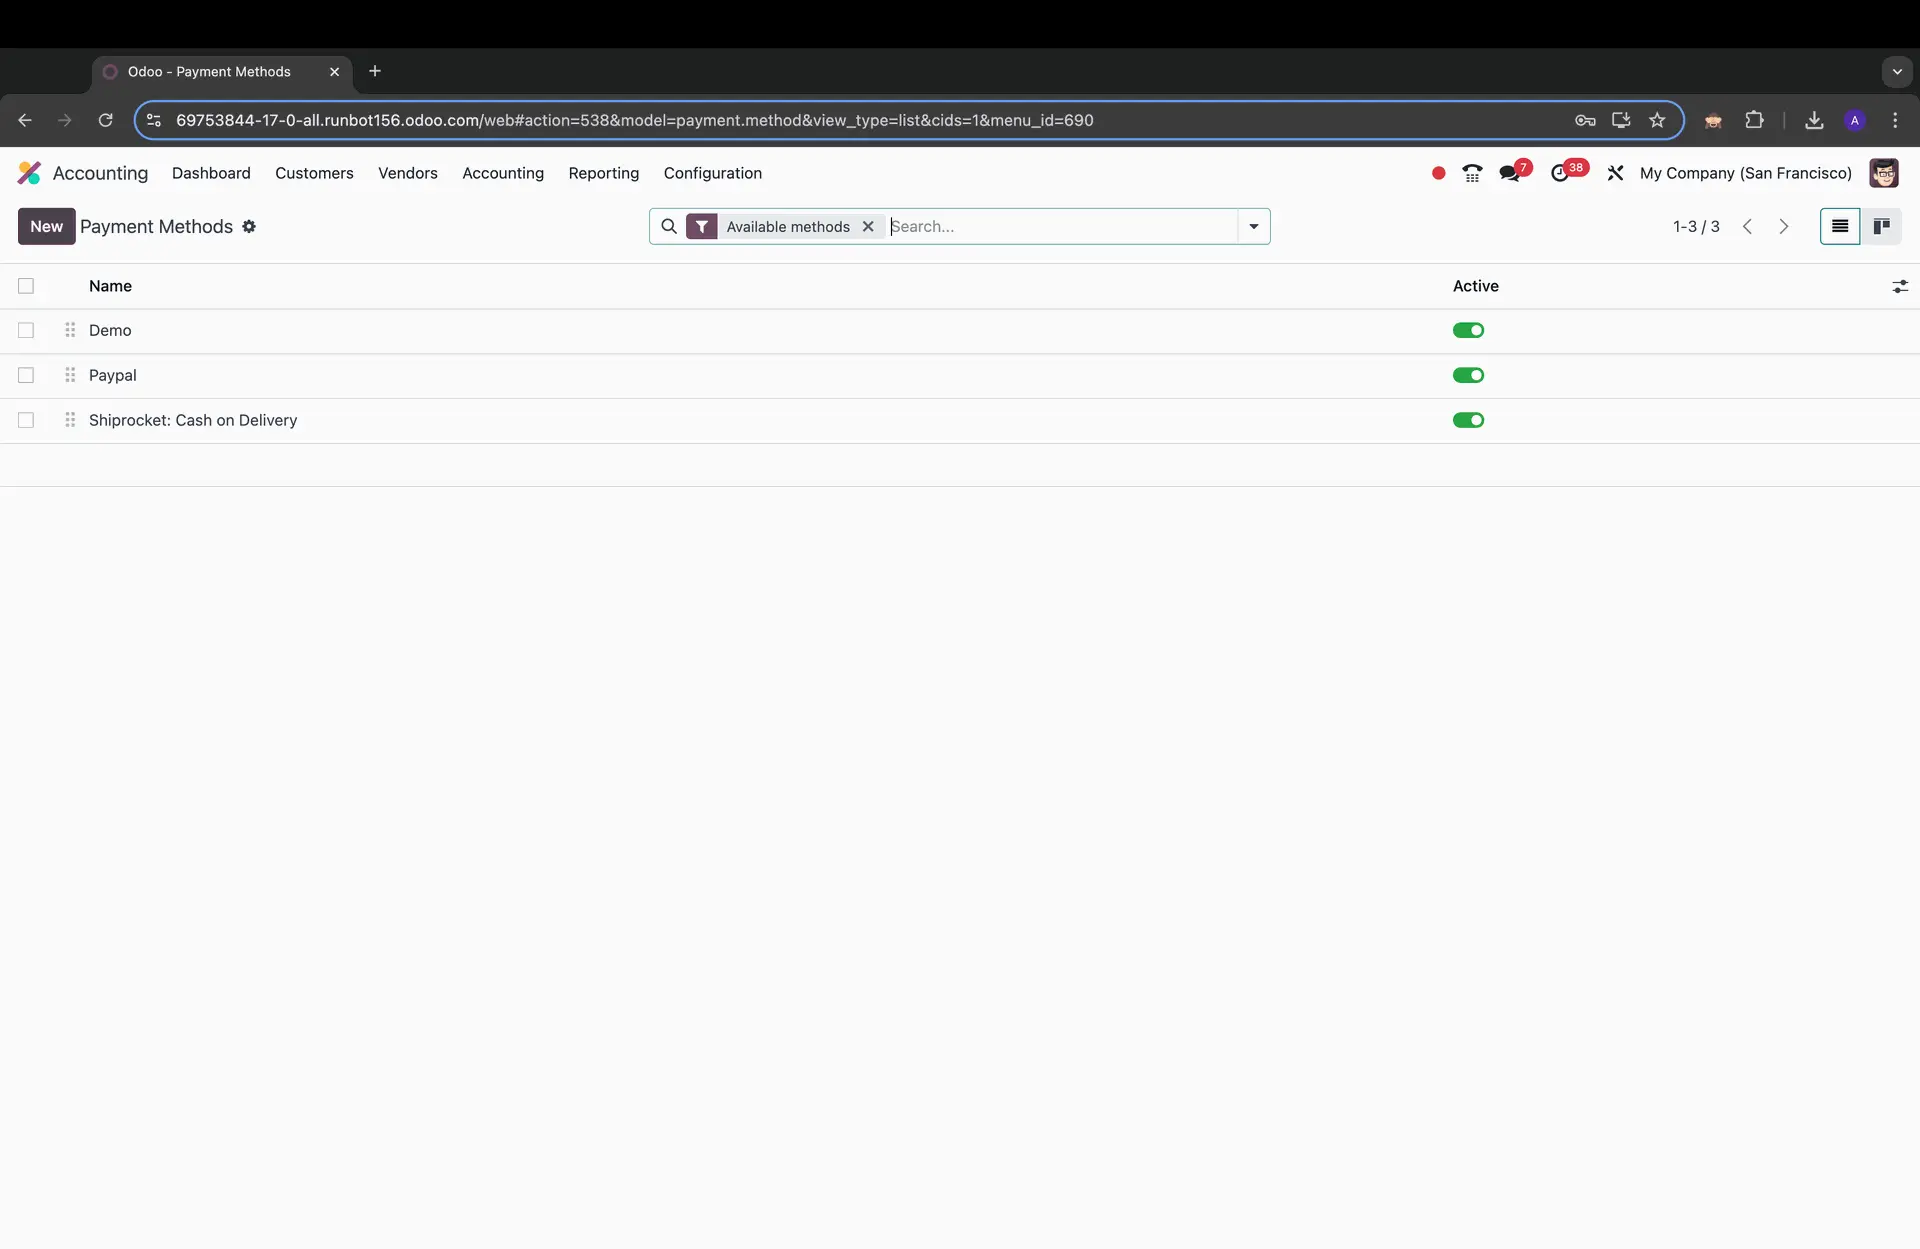
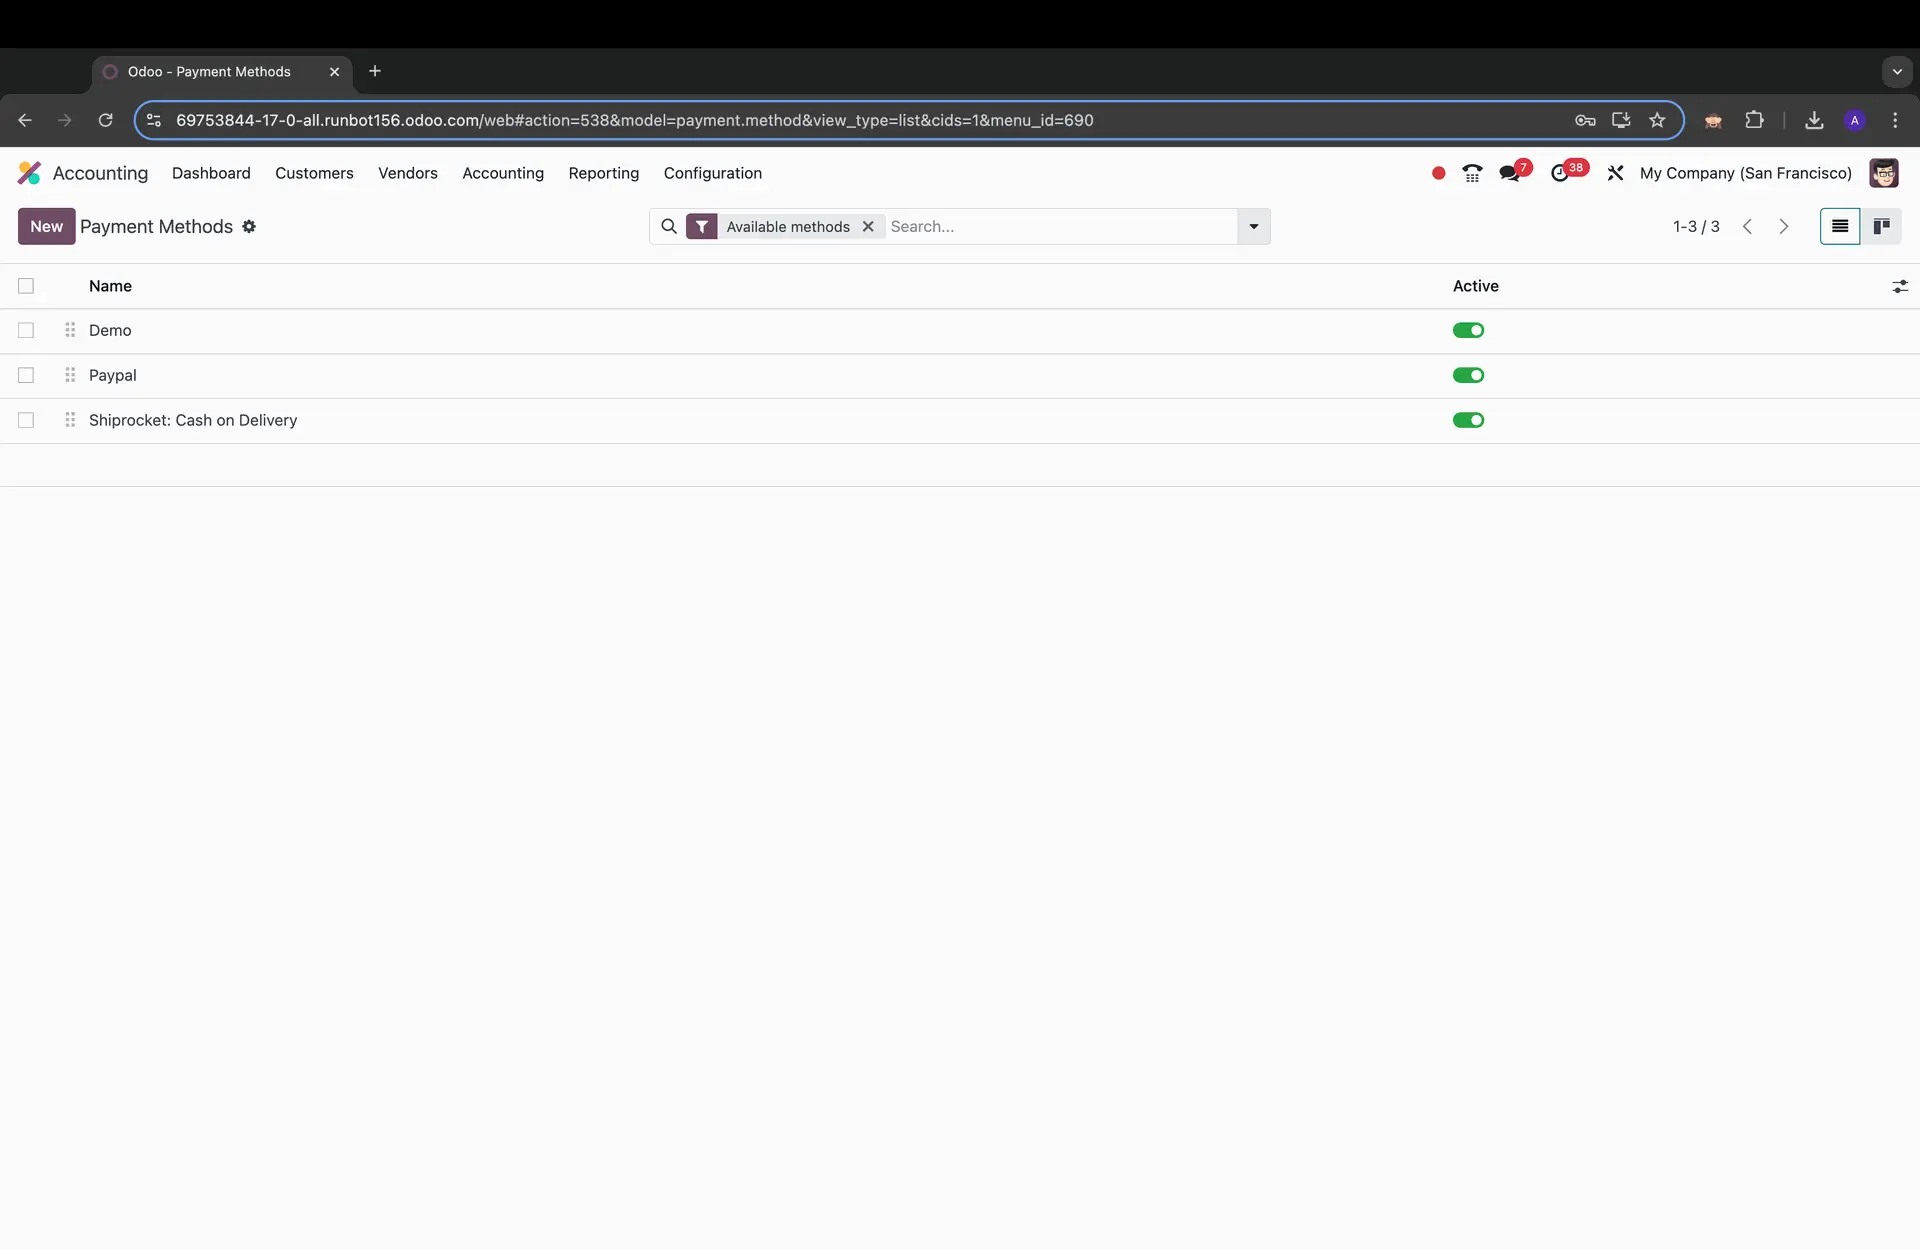
1. After configuring the payment provider navigate to the Payment Methods section under Configuration.
2. You can create a new payment method or edit an existing one linked to your newly configured provider.
3. Make sure that your payment method allows online transactions.
Need help configuring Odoo payment providers? Meraki Technology offers expert Odoo ERP solutions, including seamless integration of PayPal, Stripe, and Razorpay. We serve businesses across the USA, UK, Europe, Australia, UAE, and South Africa, ensuring hassle-free setup and reliable support for your online store.
FAQ
1. Which payment providers work best with Odoo?
Popular payment providers for Odoo include PayPal, Stripe, and Razorpay. The best choice depends on your business needs, supported currencies, and target markets.
2. Can I integrate multiple payment gateways in Odoo?
Yes, Odoo allows you to activate and configure multiple payment providers simultaneously, giving your customers more options at checkout.
3. How do I test my Odoo payment provider setup?
Use the Test Mode in the provider settings before going live. This ensures transactions are processed correctly without affecting real payments.
4. Are there fees for using Odoo payment providers?
Yes, each provider charges transaction fees. For example, PayPal and Stripe charge a percentage plus a fixed fee per transaction, while Razorpay charges local processing fees.
..